Enter 2015. After reading his tutorial I quickly realized that while I don't have the majority of the products, the things I do have are perfect so off I went.
Here is my tutorial (condensed)
1. I started off with a large pre-printed tag and some tissue paper I had in my Christmas stash. I laid down a layer of ModPodge first and then laid the tissue paper over top, crinkling it as I pressed it down.
Once dry I ripped some of the edges off and distress the edge of the tag.
Once dry I ripped some of the edges off and distress the edge of the tag.


3. Next I took acrylic paints and applied the colors in various areas over the tag.
I used Distress paint (Tarnished brass) and Lumiere paints (Pearlescent white and Halo violet gold)

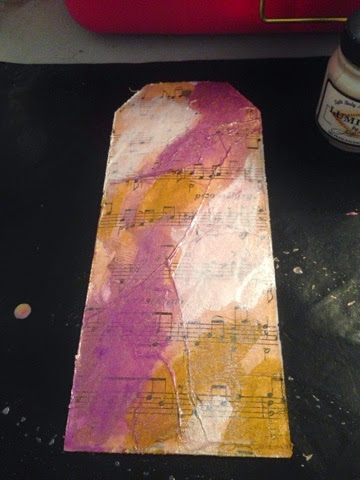
Before it dried I spritzed it with water so I could blend the colors together using my finger. As you can see it looks a bit more finished by blending the colors.
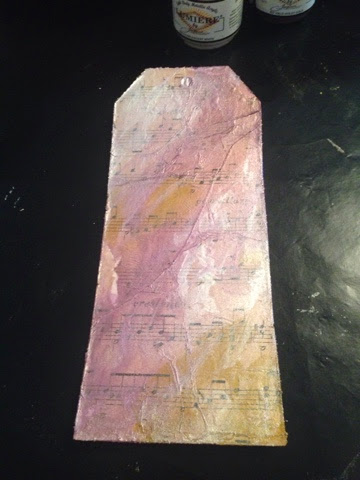
4. Once dry I took my Dylusions black spray bottle and very lightly spritzed some black on top. I actually took the nozzle part off of the bottle and tapped the ink off the nozzle and onto the tag. As you can see the black is very light.

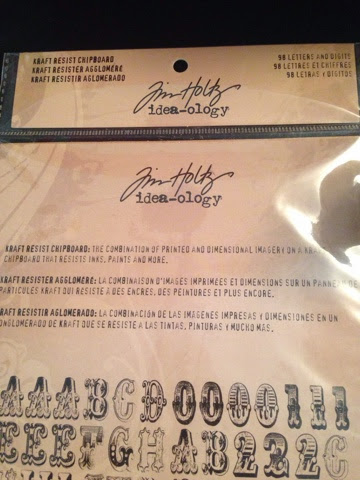
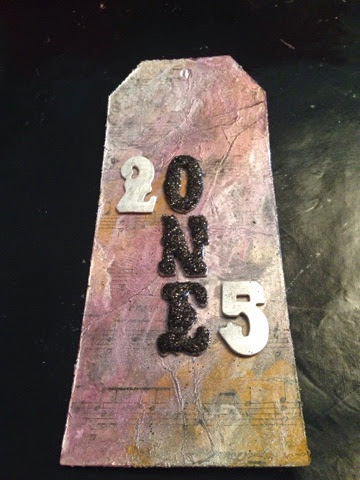
5. As I didn't have the letters and numbers that Tim used I realized I did have his Kraft resist chipboard - Letters and digits. Perfect!!
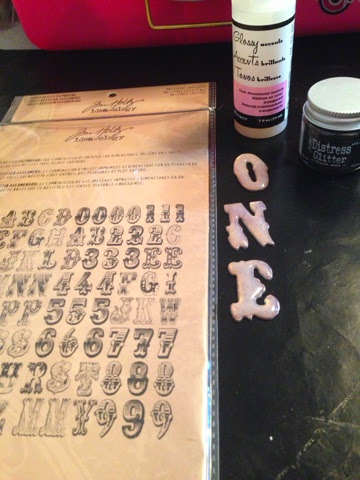
I added a layer of Distress stain ( Brushed pewter) and let that dry. Then I lightly added some of the Lumiere (Halo gold) around the edges of the letters just using my fingers. Once dry I covered the letters O, N and E with glossy accents, added a layer of Distress Glitter (Black soot) and let that dry.
You will notice below that I left the 2 and 5 without glitter.
6. As Tim suggested in his tutorial its a great idea to lay your large numbers/letters out on the tag while you sort out the placement of your words.
7. I didn't have the word stickers from the tutorial but I did have the next best thing. Tims Remnant Rubs (Life quotes). I took a plain white piece of paper and rubbed the quotes onto the blank sheet. Once I had done enough I just rough cut them by hand.

While my large numbers/letters were still laying on the page I glued on my quotes around them.

8. Next I glued down the 2, ONE, 5.
9. I took my Faber-Castell Pitt artist pen (Tim's distress pens would work excellent as well) and outlined the edges of the word strips. Quickly, before the ink dried I rubbed my lines so that they had more of a smudged appearance. If I got a little too much of the pen on top of the word strip I just wet a piece of paper towel and rubbed off some of the ink.

10. My next step was to splatter a little bit of my Distress Paint (Tarnished brass) over the tag. I just dipped my paintbrush in the paint bottle and tapped the handle part of my brush on my other hand (with the brush end over top of the tag). I moved it around to disperse the paint around the tag as I tapped.

11. For the ribbon embellishments at the top I used Tims crinkle ribbon and Distress Stain (Brushed pewter and Dusty concord).
Take the stains and dab both colors onto your craft mat (randomly). I dabbed a sufficient amount, enough to cover the entire ribbon.
Take your ribbon and dab it into the Distress stain until your ribbon is fairly wet and covered in color. Next I crinkled up the ribbon really good. I basically smushed it into a really small ball and then just let it release naturally. I took my heat gun and dried the ribbon. Careful you don't overheat it and that you use tweezers to hold the ribbon down on the mat while you are drying it. I held my heat gun quite a ways away from the ribbon as I was drying it.
Once dried tie it to the top of your tag. I created a bow which you can't really see in the pictures but that is how I wanted it to look.

12. I didn't take a picture of this next step but at the last minute I decided to add two metal embellishments. I added a little plane at the top and a little crown/key in the bottom spot. You can see them in the final picture below. These I purchased from Dime Store emporium .. LOVE this little shop.
Here is my completed tag. Thanks for "tagging" along :)

No comments:
Post a Comment