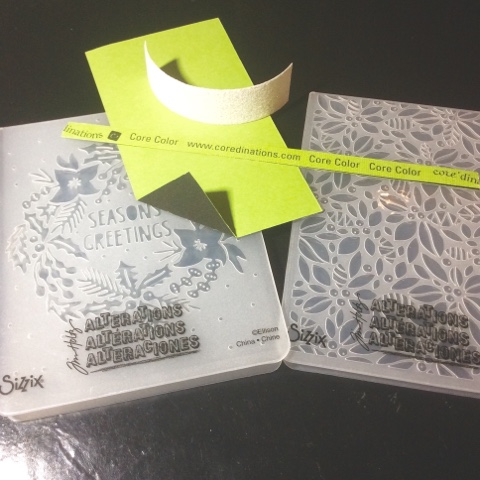
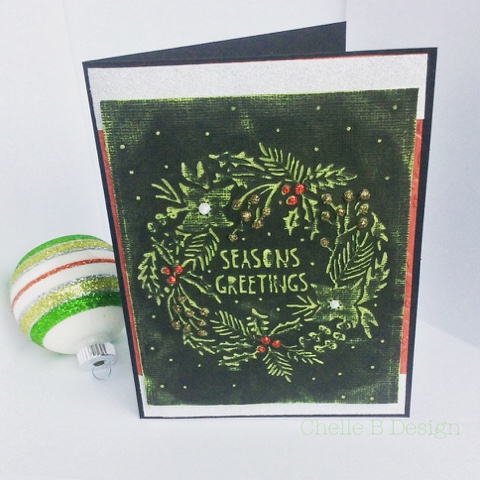
I purchased the multi pack of Tim Holtz embossing folders "Greetings and Greens" recently and was struggling a bit on what to do with the wreath folder. I knew I loved it but that love wasn't translating into an actual project until that little piece of paper entered into my mind. I mean how perfect to use with that folder right! So I set out on a mission today to create a card that was fairly simple but eye catching at the same time. I love the rough texture of the design mixed with the bling of the glitter tape.
Here's how I created this card.
I cut out a piece of the core color card stock to fit exactly inside the embossing folder. The size turned out to be 4.5 x 5.5. I lined it up in my embossing folder, making sure the raised side of the folder would be popping the black side of the card stock "up". So when you insert it into the folder make sure the black side is facing the front of the folder. I ran it through my big shot and then took the piece of paper and began sanding the raised parts. I have a sanding tool that looks just like a nail file which works great on this type of embossing. Actually a nail file would probably work just fine but be gentle as you can rip the paper. I bent the paper a bit as I was sanding it to help bring out the green core in those hard to get to areas. I finished it off by sanding around the edge of the paper.
Next step was to add stickles to the sanded piece. I used ruby slippers, frayed burlap and picket fence on the various areas of the design. I put this aside to dry.
I took a basic piece of red card stock and cut it to fit my card base. The size is 6.25 by 4.75 as my card measures 6.5 x 5. I like to see a bit of the black behind my red background. I ran the red card stock through the other folder from my Tim Holtz embossing folder package (Greens). This one has a lovely holly and berry background.
I cut two strips of white glitter tape and adhered it to the top and bottom of the red card stock piece. I glued this down to my card base and then added pop dots to the back of the black embossed piece and added on top. That's it!
My challenge to you is that if you have a piece of this coredinations color core cardstock use it in an embossing folder. The result is awesome!
No comments:
Post a Comment